
The first time I repaired a ball mark, I made it disappear by pushing my tool beneath the crater and lifting the middle. The surface looked level, so I assumed I had done a perfect job. In reality, I had torn the roots and made recovery harder. Once I learned how to repair ball marks on the green, I realized that the correct technique is almost the opposite: move healthy turf inward instead of prying damaged turf upward.
A proper repair takes only a few seconds. It protects the grass, creates a smoother putting surface and shows consideration for everyone playing behind you. The secret is simple: push inward, never lift upward.
What Is a Ball Mark?
A ball mark is the indentation created when a golf ball lands sharply on a putting surface. It may also be called a pitch mark. The force of impact compresses the soil and pushes turf toward one side, often producing a small crater with a raised edge.
A ball mark is not the same as a divot. A divot is a piece of turf removed by a club during a stroke, usually from a teeing area or fairway. Although repair tools are commonly called divot tools, golfers generally use them on putting greens to repair ball marks.
Ball marks are usually deeper when the turf is wet or soft. High approach shots can also create more noticeable damage because the ball lands at a steeper angle. Greens receiving frequent wedge shots, including those on shorter holes, can therefore accumulate numerous marks.
Why Correct Ball Mark Repair Matters
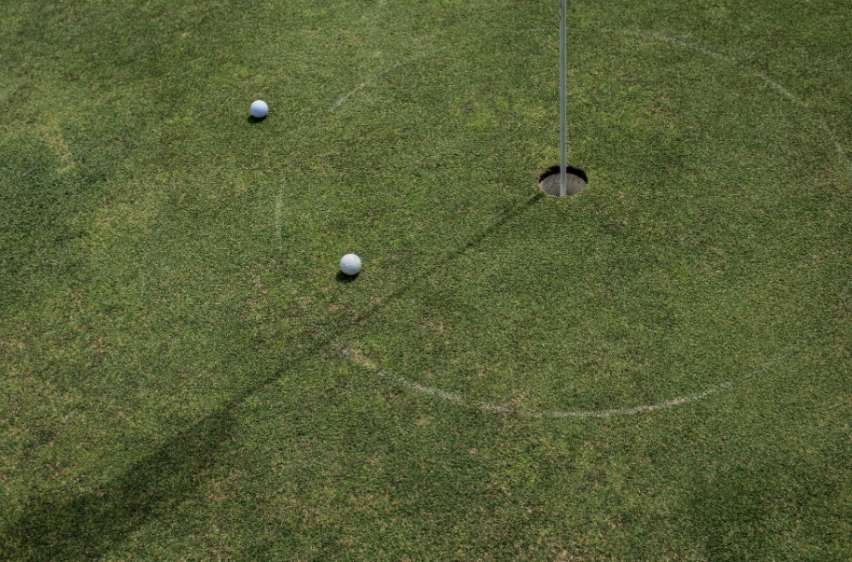
An unrepaired mark can affect both the health and performance of a putting surface. The damaged depression may cause a putt to bounce, slow down or roll away from its intended line. Open turf can also create space for weeds and disease to become established.
A poorly repaired mark may be equally harmful. Pulling the middle upward can tear roots beneath the surface. The area may look smooth temporarily, but damaged grass can become discolored or die later.
Correct repair moves displaced turf back toward its original position while keeping the roots connected to the soil. This gives the grass a much better opportunity to recover and restores a firm, even surface.
Tools You Can Use
A dedicated ball-mark repair tool is convenient, but it is not essential. Suitable choices include:
- A single-prong repair tool
- A short two-prong repair tool
- A standard golf tee
If you regularly play away from home and pack course accessories with your clubs, choosing the best golf travel bag for airline travel can also help keep small essentials organized and your equipment better protected between rounds.
Technique matters more than price. Long, sharp prongs can encourage golfers to dig too deeply, while a shorter tool offers greater control. Whichever option you choose, insert it only far enough to move the displaced turf. You are repairing the surface, not loosening the soil beneath it.
Avoid using an object that is excessively wide, blunt or likely to remove additional grass. If you carry a repair tool, keep it in an accessible pocket so you can use it without delaying play.
How to Make the Correct Repair

Step 1: Find the Raised Side
Look closely at the indentation before inserting your tool. A ball arriving at an angle usually pushes soil and grass toward the front or side of the mark. This creates a raised or stretched edge. Even when golf stretches for fluid swing help you produce a controlled approach, the ball’s landing angle can still determine where the turf becomes displaced.
For players trying to maintain better mobility, balance, and control from one round to the next, following a golf fitness routine for weekend golfers can also support more consistent movement on the course.
Begin behind that displaced section. Starting in the correct place helps you return the turf toward the center instead of disturbing healthy grass unnecessarily.
Step 2: Insert the Tool at the Outer Edge
Place the prong just outside the mark rather than directly in its center. Insert it at a shallow, controlled angle. The tool should enter the turf close enough to move the raised edge but not so deeply that it cuts through the roots.
Never stab repeatedly into the middle. The center has already absorbed the impact and does not need additional damage.
Step 3: Push the Turf Inward
Gently push the top of the tool toward the center of the indentation. This motion encourages the surrounding grass to close the crater.
Remove the tool and repeat the action from several points around the mark. Work patiently until the opening is filled. Do not use the tool as a lever, and do not pull its handle backward to force the center upward.
The repair may form a small mound. That is normal and will be corrected in the final step.
Step 4: Tamp the Surface Flat
Use the sole of your putter to tap the repaired area gently. Apply enough pressure to create a level, firm surface, but do not strike or stamp on it.
Check the repair from more than one angle. The finished area should sit level with the surrounding green without loose tufts or a visible depression.
The Biggest Mistakes to Avoid

The most damaging mistake is inserting a tool beneath the crater and lifting. This severs roots and brings unhealthy soil to the surface. It can also disrupt moisture distribution around the damaged turf, making soil surfactant effects less consistent. Even if the mark looks repaired, the weakened grass may take much longer to recover.
Other common errors include:
- Twisting aggressively inside the mark
- Digging farther into the soil than necessary
- Pulling loose grass out of the depression
- Pounding the repaired area with a putter
- Ignoring shallow or partially hidden marks
- Replacing detached turf as if it were a fairway divot
If a loose piece of turf has separated from the surface, do not press it back into the mark. Close the surrounding healthy grass inward and allow the maintenance team to handle serious damage.
Ball-Mark Etiquette on the Putting Surface
Repair your mark soon after reaching the green, provided you are not distracting another player. Mark and lift your ball first if it could be moved while you work.
This small habit is also part of good golf course etiquette for new golfers, because caring for the putting surface helps protect playing conditions for every group that follows.
Be aware of other players’ putting lines. Do not stand on or step across someone’s intended path merely to reach a mark. Wait until it is safe and courteous to make the repair.
A useful habit is to repair your own mark plus one nearby. This requires little extra time and can leave the surface in better condition than you found it. When conditions are wet, look carefully because shallow marks may be difficult to see.
Players may generally repair damage on a putting green, including damage on their putting line, using reasonable actions and normal equipment. However, repairing damage outside the putting green could improve the conditions affecting a stroke. When the location or situation is uncertain, consult the current official rules or ask the course staff.
Frequently Asked Questions
1. What is the easiest way to learn how to repair ball marks on the green?
Remember three actions: insert at the outside edge, push the surrounding turf toward the middle and tamp gently with your putter. Never pry the center upward.
2. Can I repair a ball mark with a golf tee?
Yes. A standard tee can work effectively when used carefully. Insert its point at the edge and push the displaced turf inward from several directions.
3. Should I twist a ball-mark repair tool?
Avoid forceful twisting. It can disturb turf and damage roots. Controlled inward pressure is clearer, safer and easier for beginners to repeat consistently.
4. How quickly should I repair my mark?
Repair it after reaching the putting surface when doing so will not interfere with another player. Prompt attention helps prevent additional damage from footsteps, putts and maintenance equipment.
5. Should I repair ball marks that are not mine?
Yes, when it is safe and does not delay play. Repairing one additional mark is a considerate habit that helps improve playing conditions for everyone.
Final Thoughts
I now treat repairing a ball mark as part of finishing a successful approach shot. It takes only a few seconds, requires no expensive equipment and makes an immediate difference to the surface.
I always begin at the outside edge, move the turf inward and finish with a gentle tap from my putter. Most importantly, I resist the temptation to lift the center. When every golfer follows that simple routine, greens recover more effectively and putts roll across a smoother, healthier surface.